
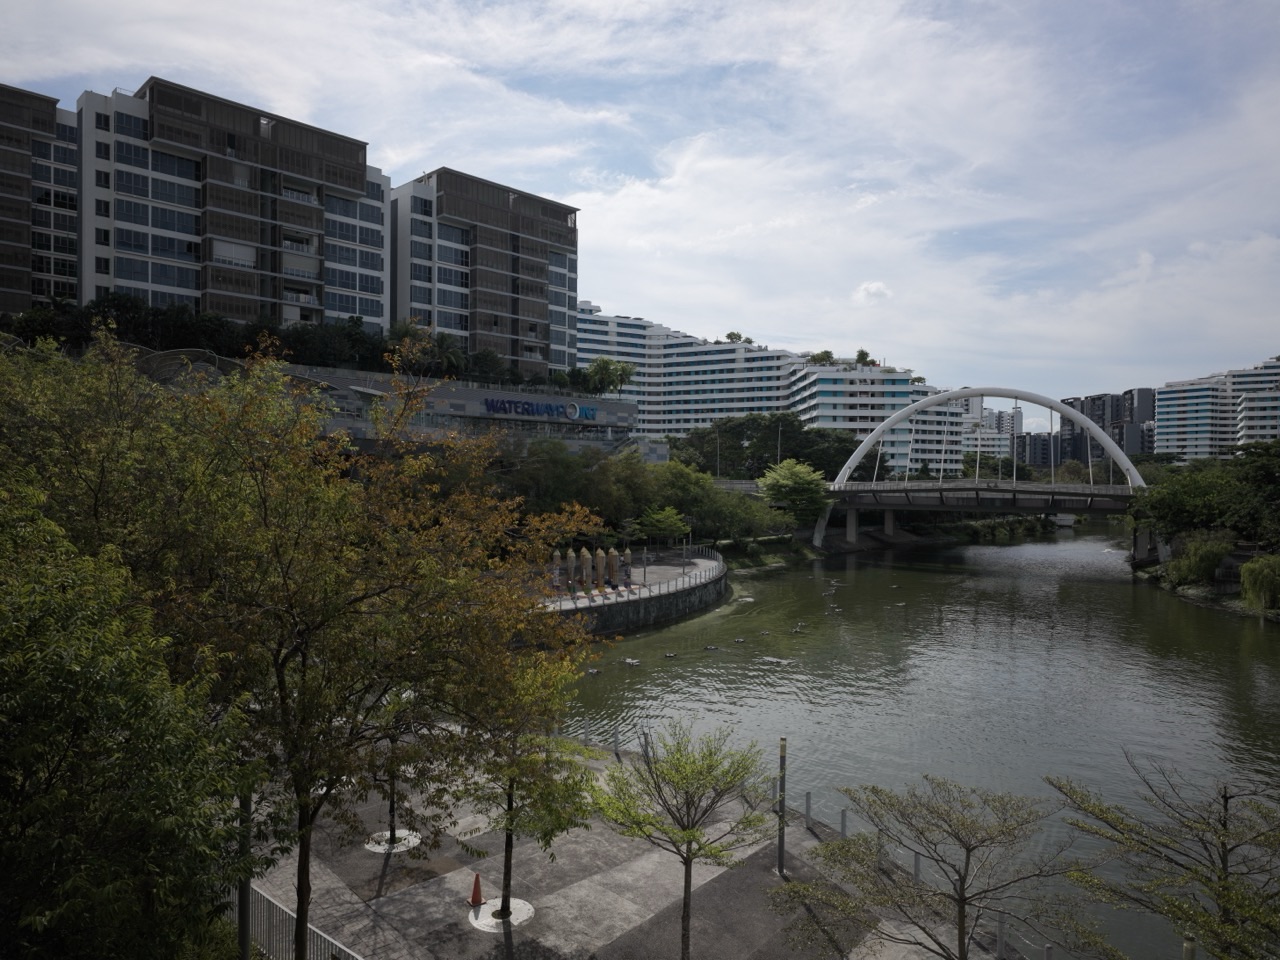
Shadow photography in Punggol gives you a new subject without needing a new destination. Look for the shape cast by a railing, leaf or person onto a visible surface, then decide whether the pattern is interesting enough to frame.
Unlike a sunset silhouette, where you photograph a dark subject against a bright background, this activity concentrates on the shadow falling onto something else. That difference helps you choose where to look and what the picture should show.
A phone or ordinary camera is enough to begin. Keep to safe public viewpoints, leave other park users room to pass, and work with the light you find rather than moving objects or vegetation.
eduKatePunggol · Look closer outdoors
Choose your reading route
Plan the activity · Understand the idea · Compare and continue
Contents
Chapters 1–2
Chapters 3–4
Start by noticing where a shadow lands. A path, wall or other visible surface can become the main part of the picture. Its texture and angle may influence the result as much as the object making the shadow.
Take one photograph that includes both object and shadow. Then make a second that concentrates on the cast shape. The pair helps you see the difference between documenting the scene and simplifying it into a pattern.
A repeating railing shadow might lead the eye across the frame; an irregular leaf shadow might resemble a drawing. You do not need to force a familiar object into every shape. Sometimes the interesting feature is simply repetition or contrast.
Do not move park furniture, pull foliage or ask a companion to block a shared path to improve the arrangement. Shift your own viewpoint where there is room, wait for a better moment or choose another subject.
Direct, harder light can produce clearer shadow edges, while softer light gives gentler transitions. Nikon’s photography lessons distinguish these qualities of light. Neither is a mistake; they suit different kinds of image.
If the edges are soft to your eyes, a different focus setting will not turn the real shadow into a crisp cut-out. Try a picture about subtle tones instead of repeatedly trying to sharpen something the light has made diffuse.
Look for a useful relationship between the shadow and its surface. A diagonal line may feel more active than the same line lying across the centre. Try both, but do not rotate every picture simply because diagonals sound more artistic.
Comfort matters more than hard light. You do not need to stay outside in strong midday conditions to complete the activity. If the available light is not suitable, make another kind of photograph and return when the outing suits you.
Take a test image and decide what should retain detail. Perhaps you want texture in the lit pavement and a dark graphic shadow. Perhaps the interest is in faint tones inside the shadow. These are different intentions, so there is no single correct brightness for every frame.
Canon’s exposure-compensation explanation describes adjusting an automatic exposure to suit your intention. Where your camera mode supports it, make a small adjustment and compare the new image instead of changing several controls at once.
Focus on the surface that receives the shadow or a clear feature on it. If the image is blurred, inspect whether your device moved or the shadow’s source was moving. Wind-blown leaves can change the pattern between frames.
On a phone, review the saved photograph rather than only the preview. Use the controls documented for your model. Avoid assuming a particular tap, slider or automatic processing option behaves identically on every device.
Make a three-image set: one scene that shows the source and shadow, one close pattern, and one wider photograph that establishes the location. See whether the story remains understandable when viewed in that order.
If people are involved, ask before making a posed photograph and before sharing it. Keep strangers incidental rather than turning someone passing by into the subject of an intrusive close-up.
Our Punggol silhouette guide covers the related but different backlit approach. Comparing the two can be a useful family discussion: are we seeing the object as a dark outline, or its shadow on a surface?
For location ideas, use our Punggol photo-spots guide alongside current access information. The best result from this exercise may be recognising an interesting patch of light on a route you already know.


