
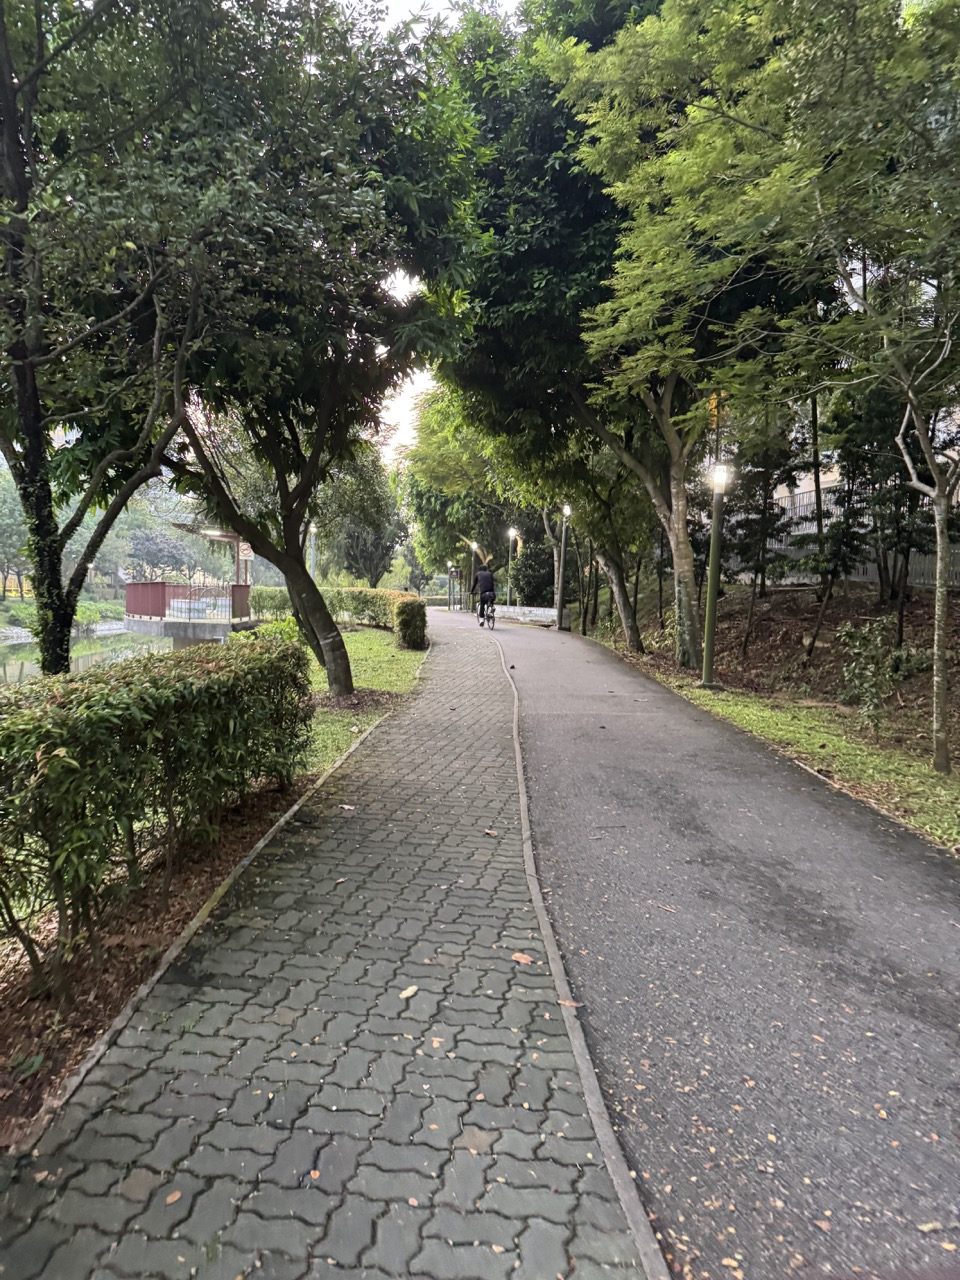
Take the family to Lorong Halus Wetland for a free water science outing in Singapore in 2027. Start on the Punggol Promenade side, look at Serangoon Reservoir from the public path, and use Lorong Halus Bridge if its approach is open. On the wetland side, use the available public signs and PUB’s learning trail to ask how water from a former landfill is treated before it can enter the reservoir.
Allow about 60 to 90 minutes once you reach the Tebing Lane area, including the return. A bridge-only visit still works if the wetland approach is unavailable or the weather changes. Give children one question to explore, such as where rain goes after it falls on the ground. The outing can end after one observation, a short drawing and a return to the Punggol side.
- Use Tebing Lane and Lorong Halus Bridge as distinct map pins.
- Treat the bridge, public wetland paths and any visitor facilities as separate access checks.
- Bring one question from PUB’s learning trail rather than trying to complete every activity.
- Look and sketch from public paths. Leave water, plants and wildlife undisturbed.
- Keep a short out-and-back plan with a clear return and a weather fallback.
EDUKATE PUNGGOL · SINGAPORE 2027
Find the part you need
- What the wetland does
- Start from the Punggol side near Tebing Lane
- Use the bridge as an observation point
- Look at plants and water from the public paths
- Use the visit to understand the place’s history
Route and first stops
PUB describes Lorong Halus Wetland as a system that collects and treats water passing through a former landfill on the eastern bank of Serangoon Reservoir. This water can pick up substances as it passes through the site. The wetland is designed to reduce the risk of those substances reaching the reservoir. The public landscape gives families a place to think about that process, even though most of it is too complex to see directly from a path.
A useful starting question is “Where does rain go after it lands?” Some rain flows over the ground, some soaks in and some is collected or channelled. The route at Lorong Halus is useful because it lets you place that question in a real landscape. Look at the land, the plants and the reservoir as separate parts of a system. Use PUB’s material to learn how they relate rather than guessing the purpose of each feature from its appearance.
Explain the former landfill in simple words
A former landfill is land where waste used to be deposited. Rain can move through the ground and pick up material along the way. At Lorong Halus, PUB uses a treatment system to intercept and treat water associated with the former landfill. The process matters because the site sits beside a reservoir. A child does not need to remember every technical term to understand the central problem.
If an older child wants a word for water that has picked up substances while passing through waste, introduce “leachate” and look at how PUB uses the term in its learning materials. Avoid drawing conclusions about the quality of water from its colour or clarity. Appearance is one observation. Treatment and water quality involve processes and checks that require much more information.

For the bridge approach in this guide, use Tebing Lane and Punggol Promenade Riverside Walk as your first area. Riviera LRT is a practical rail reference for the vicinity. Check the current route from the station to the exact riverside access you want. The learning activity begins when you reach the public path by the reservoir, so add transport and the walk from the station to the time you set aside for the visit.
NParks describes Riverside Walk as about 1.2 kilometres and notes the food and beverage area near Tebing Lane. The whole connector is unnecessary for a short wetland outing. Use the map for the approach that suits your group, choose a clear place to meet and confirm the way back. If someone is joining only for lunch, give them the actual venue instead of the name of a long public walkway.
Work out the order on the map
Save the Punggol-side approach, the bridge and the wetland as different points. A broad pin for Lorong Halus may lead you to an approach on the other side. That can be useful if it is the route you intended. For this visit, the Punggol-side start makes it easy to compare the reservoir view before and after the crossing. It also gives you a clear turnaround when the bridge or wetland path is unavailable.
Do a quick map check at the first public viewpoint. Point to where you are, where you intend to cross and where the return leads. With children, let one person identify the next landmark while an adult checks the route. Keep away from the shared path’s through line while looking at the map. The aim is to spend the visit looking at the place instead of working out where the group has gone.
Contents · Previous section · Next section
Lorong Halus Bridge is the crossing towards the wetland from the Punggol Promenade side. Check current access and any signs before crossing. If the path is busy, make the crossing first and find a place to pause later. If the bridge is closed, use a public viewpoint from the Punggol side and finish the learning activity there. The bridge is an optional part of the outing when access or weather is uncertain.
Look at the reservoir from an appropriate place and ask what the water is connected to. You might see land edges, a public path or structures on either side. A child may ask whether water at the site behaves the same way as rain running along a pavement. That is a good moment to distinguish what they see now from what happens beneath the ground or through a treatment system.
Try a one-minute before-and-after comparison
Before crossing, let each person name one thing they can see in the direction of the wetland. After crossing, if access permits, ask what has become easier to observe and what is still hidden. The question works even if the answer is simply that the plants look closer and the reservoir is now behind you. Moving changes your point of view. It also changes which parts of the system you can describe with confidence.
A family that stays on the Punggol side can make a similar comparison with two nearby public viewpoints. Choose one where you can see more of the water and another where the land or planting is easier to see. Use the labels and PUB’s guide later to check the official description. The aim is to practise good observation, even when the original walking plan changes.
Contents · Previous section · Next section
PUB’s student guide gives families a way to turn the visit into a short field activity. Pick one task or question before you leave home. Save a copy for reference if needed. Use the current site signs for actual access. An older learning trail can still explain the wetland’s purpose while individual paths, signs or facilities change over time.
A preschooler can point to water, plants and land, then describe one thing they see. A primary school child can draw arrows between rain, land and the reservoir and add a question about what happens in between. A teenager can distinguish the waste site, the movement of water and the purpose of treatment. Let them use PUB’s account to fill in details that cannot be seen on the public route.
A short worked example
Suppose a child draws a single line from rain to the reservoir. Ask what could happen if some rain lands on a former landfill rather than on the water itself. They might add another line showing water moving through the ground. Use PUB’s explanation to show why water from that area is collected and treated. The drawing is a simplified model, so leave room for real details the family has not verified.
Then ask the child to underline one thing they saw and circle one thing they learned from the guide. “I saw plants beside the path” is a direct observation. “PUB designed the wetland to treat water associated with the former landfill” comes from the official explanation. Both belong in the notes, with their different sources identified. This helps children practise the kind of careful reporting they can use on other outings.
Contents · Previous section · Next section
Use the marked public routes and read the signs that are available. The outing can focus on looking and thinking from a path. Leave plants and water where they are. Avoid stepping into planting or approaching wildlife for a better look. If you are visiting with children, find a place where the group can stop without blocking people who are walking or cycling.
A child may expect to see water flowing visibly from one stage to another. Some parts of the process may be hidden or hard to distinguish from where you stand. That is an opportunity to ask what evidence would show how the system works. Official diagrams, signage and water-quality measurements can answer questions that the appearance of the landscape alone cannot.
Observe without needing to identify everything
Pick a small patch of the view and make a simple list: water surface, plants at the edge, built structures and anything moving. Use plain descriptions if you do not know a species or a structure’s name. The family can look up more later. A careful description such as “a bird standing near the far bank” is a better starting point than an identification made from a distant glance.
If you bring binoculars or a camera, use them from a suitable public stop. Keep lenses and equipment within the space you are using. A photograph of the landscape can record where you were and what the weather looked like. The photograph cannot establish water quality or confirm a species unless it includes enough detail. Add a caption that says what you actually saw.
Contents · Previous section · Next section
A short family version uses the same route back to Tebing Lane. Set a turnaround when you begin and allow time for the approach to the station afterwards. If the group is hot or tired, finish after the bridge or the first suitable viewpoint. A drink or a seated break near your agreed return area can be the last part of the visit. Check current outlet hours if a meal matters to your plan.
If rain or thunder is approaching, leave the exposed route and use appropriate indoor shelter. Do not depend on a bridge, a small shelter or an unconfirmed visitor building as your storm plan. In poor conditions, save the crossing and use PUB’s diagrams for the science activity indoors or at home. A child can still make a first sketch and improve it when the family visits on a clearer day.
Keep Coney Island as a separate decision
The wetland and Coney Island appear close on maps, but the park has its own gates, hours, routes and conditions. The science walk works without crossing into a second destination. If a longer nature outing is your objective, check the relevant NParks access notice, route and return before trying to combine them. Give enough time for both the approach and the return at a comfortable pace.
A parent can present the plan in a single sentence: “We will go to the bridge, look at the wetland if we can, and come back for lunch.” Children then know what will happen even if a route changes. An extra walk becomes a choice at the right point rather than an obligation once everyone is already outdoors.
Contents · Previous section · Next section
The National Heritage Board records earlier sewage and landfill uses at Lorong Halus and the later development of the wetland. Read one section of its history alongside the PUB explanation. The heritage account tells you about what people used the land for over time. The PUB account focuses on the water treatment purpose. Seeing both helps a family understand why this particular location needed the system.
Ask how the needs of a place can change over time. An earlier land use may leave a problem that later planners have to manage. A public path allows visitors to observe the landscape while the treatment system serves a different function. A child can grasp this through the example of the former landfill and the nearby reservoir without needing a complete engineering account.
Make a three-line field note at home
On the first line, write where and when you visited. On the second, describe one thing you saw from a public path. On the third, write what PUB or NHB helped you understand. If you have one more question, add it below. A simple set of notes can become useful on a return visit when the weather or route gives you a different perspective.
For example, a child could write, “I could see plants and open water from the path. PUB says water from the former landfill is collected and treated. I would like to know how the operator checks whether treatment is working.” This is a complete learning outcome for a short trip. It includes a real observation, a sourced claim and a question the child can follow later.
Contents · Previous section · Next section
About 45 minutes for one observation
Start at a convenient public viewpoint, look at the reservoir and decide whether there is time to approach the bridge. Use one question and return while the route is still comfortable. This works after another activity nearby or with children who want only a short outdoor stop.
About 75 minutes for a crossing and a sketch
Start near Tebing Lane, cross if the route is open, look at the public wetland setting and spend a few minutes on a drawing or note. Allow the last part of the visit for the return. Choose the bridge-only version if the group is getting tired or the weather is changing.
About 100 minutes with a meal or longer discussion
Add a seated break near the return area or spend more time discussing the map and official guide. Keep the outdoor leg flexible. A meal and a short walk can be easier for a mixed-age group than trying to extend into another park. The learning question can continue at the table after you finish the walking portion.
Contents · Previous section · Next section
Start with rain. A child can point to a patch of ground and imagine rain landing there. The next step is movement. Some water can pass through the ground and through material left in the former landfill. The third step is interception and treatment. PUB’s explanation provides the link between that water and the engineered wetland. The fourth step is the reason for the system: helping to protect Serangoon Reservoir.
Use one arrow for each step on a piece of paper. Leave room next to the third arrow to add what the official diagram shows. The family does not have to see every step in operation. A model helps connect the things you can observe with parts of the process that are hidden from public view. Write “PUB’s explanation” beside the steps you learned from the guide rather than from a visible sign on site.
Ask what would count as evidence
A clear patch of water may look clean to a child. Ask what measurements or information would help someone judge its quality. The appearance of a surface cannot answer every question about dissolved substances or treatment performance. Look at what can be measured, what can be observed and what an official source reports. Those distinctions are useful at any reservoir, park or beach.
A teen can take this one step farther. Ask them to write down one claim about the treatment system and one type of evidence that would help assess it. A diagram can show the intended process. Monitoring data would answer a different question about actual conditions. That short exercise connects a recreational walk with how people reason about public infrastructure without requiring the family to take samples or leave the route.
Contents · Previous section · Next section
For a younger family, use “Where does rain go?” Talk about the route from the sky to the ground and then to lower places or into the soil. Ask the child to point to a place that might hold or channel water without touching anything. If you stay on the Punggol side, you can still compare land, plants and open water and look at the official diagram later.
For older children, use “Why does this wetland exist here?” Start with the former landfill, the reservoir and the idea that water moves through land. Ask how an engineered treatment landscape addresses the problem. Use the PUB and NHB material to check which part is environmental design and which part is the site’s history. An answer can be brief as long as it makes the connection clear.
Let the family work at two speeds
A young child might take five minutes to draw plants and water. An older sibling may want longer to understand the historical map or the way water moves. Use the same public stopping point, give both children a task and agree on when you will leave. This works better than making everyone follow the more detailed version of the visit. When the group regathers, each person can share one detail.
If another adult is coming mainly for a walk, keep the learning activity to one stop. A few minutes near the reservoir and a question over lunch are enough. The science works because you are thinking about a real place, not because you have spent a particular amount of time at the wetland. Someone who enjoyed the first visit can look through the full PUB trail at home.
Contents · Previous section · Next section
Open PUB’s learning trail and use its map or diagram to introduce the site. Ask children to draw the path they think water might take. Compare it with the official explanation. Then choose one thing they would like to look for when you eventually go. This is a complete indoor activity when conditions are unsuitable for the bridge or public paths.
On a later visit, take the drawing with you or keep a photo of it on your phone. Look for a public viewpoint that helps the child orient the picture. Add details only if you can identify them from the signs or the official guide. You might note that a feature is hard to see or that a previous route has changed. The record becomes more useful when it reflects what you actually observed.
Prepare a small field kit
You only need a way to take a note or picture, water to drink and whatever your family normally uses for sun or rain. A pencil and a small notebook work well for children who like drawing. Keep the equipment simple enough to pack away while walking. The activity can take place without collecting specimens, setting up equipment on the shared path or entering any restricted area.
Contents · Previous section · Next section
With grandparents or a stroller, ask what kind of approach is easiest before setting out. NParks describes Riverside Walk as wheelchair-friendly, but the exact connection to the bridge and the wetland paths can differ. Check current surfaces, any notices and the distance you would have to repeat on the return. A view from the first public path can be the whole outing if the bridge leg would add too much effort.
When people are arriving from different directions, give them one meeting point near the start and one fallback. A person who comes by rail may need time to find the appropriate public approach. Someone with a ride home needs the actual pickup location rather than a point on the path. Allow time for these transitions before promising how long you will spend at the wetland.
Decide what to do afterwards
A short visit can finish with lunch near Tebing Lane if the relevant outlets are open. A family that wants another outdoor stop can choose a different outing on a later day. Use the final few minutes to write the observation or tell someone the answer to your question. That gives the trip a clear finish and leaves the group with something to remember besides the distance it walked.
Keep a short version for a child’s first visit
Ask the child to look for a place where land and water meet, then pause somewhere suitable and have them describe it. Once home, show them the PUB description and ask which part of the explanation they could see and which part they had to learn from the source. If the bridge was unavailable, say where you actually stopped. A first visit can introduce the wetland from across the reservoir and leave the public paths on the other side for another day.
For a family choosing an educational route, save the PUB guide before leaving home. Read the explanation after the first look at the reservoir, so children have a real view in mind when they study the diagram.
Contents · Previous section · Next section
Is there a ticket for this outing?
The public riverside and bridge route described here has no attraction admission. Check separate arrangements for any organised programme you want to join.
Is Lorong Halus Bridge the same as the wetland?
The bridge is a crossing used to approach the wetland from the Punggol side. The wetland is the treatment landscape across the water. Check current access for both.
What do children learn there?
They can explore how rain moves through a landscape and why water from a former landfill is collected and treated. A simple sketch and one official source are enough for a first visit.
Should children collect water or plant samples?
Keep the activity to observation, notes and photos from public paths. Leave water, plants and wildlife undisturbed.
Can we go when it is raining?
Use a clear weather window for exposed paths and the bridge. If conditions turn stormy, move indoors and save the outdoor part for another visit.
Where can I find the official explanation?
Use PUB’s Lorong Halus Wetland page and student learning trail. Use NParks for the current public connector route and NHB for the site’s heritage background.
Contents · Previous section · Official visitor information


